Floating Images
Small images scattered around a row's content that drift away from the mouse, sit at different depths, and float gently as the page scrolls.
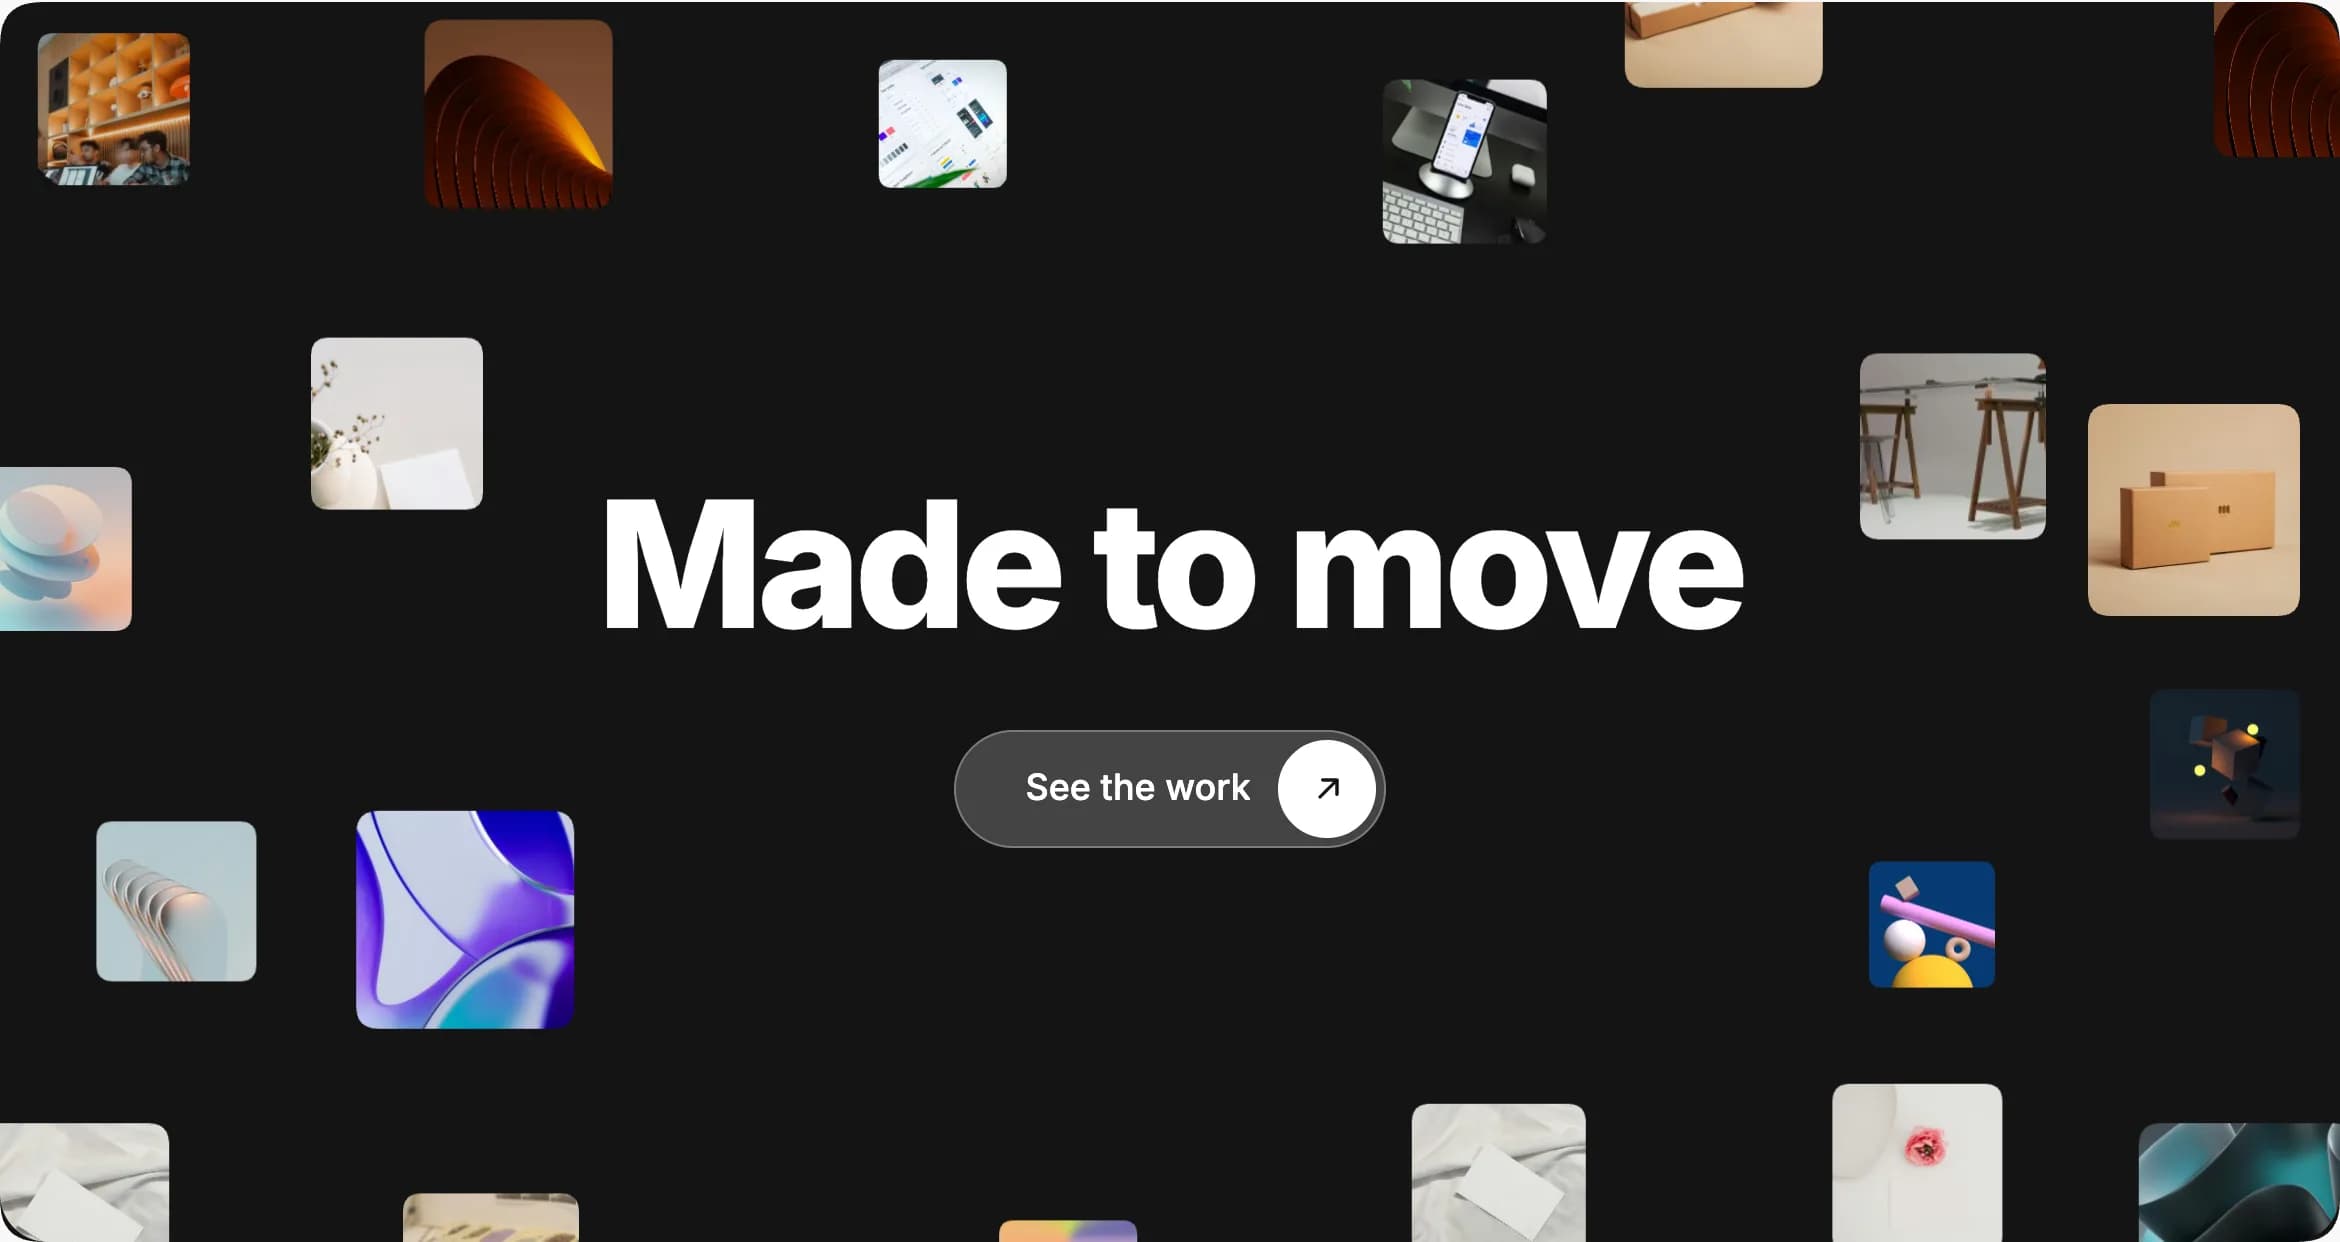
The Floating Images tab, on rows, scatters small square images around the row's content, as a background effect. The images drift away from the mouse with a soft ease, and float gently as the page scrolls even without the mouse moving. Smaller images sit further back and move less than larger ones, giving the whole field a sense of depth.
Where to find it: click the pencil icon on a row to open its edit panel, then select the Floating Images tab.
How it behaves
- Drifts away from the mouse. Images ease away from the pointer as it moves over the row, larger (closer) images moving more than smaller (further back) ones.
- Floats with the scroll. Even without the mouse, the images drift gently as the row scrolls through the screen, unless you turn that off with Scrolling.
- Same layout every visit. The images are scattered with a seeded random layout, so a visitor sees the same arrangement each time, instead of a different one on every page load.
- Stays clear of the content. Each image keeps its center outside the Clear Area in the middle of the row, and images never overlap each other.
- Respects reduced motion. Visitors who prefer reduced motion still see the images, just without any movement.
- Loads only where it's used. The CSS and JavaScript for this effect only load on pages that actually have a row with Floating Images set up.
- Works in the front-end editor, so you can see the effect while you build the row.
Settings
hb_float_imagesThe images to scatter around the row. Each is cropped to a square from its center, so pick images with the interesting part near the middle.
24hb_float_countHow many images float around the row. Images repeat when there are fewer than this. Default 24.
60hb_float_minIn pixels. Smaller images sit further back and move less. Default 60.
150hb_float_maxIn pixels. Sizes shrink on narrow screens. Default 150.
60hb_float_clearWidth and height of the area in the middle kept free for the content, in percent of the row. Default 60.
120hb_float_moveHow far the images move with the mouse, in pixels. Enter 0 to keep them still. Default 120.
Float with the page scrollhb_float_scrollOptions: Float with the page scroll, or Only follow the mouse to turn off the scroll-driven movement.
12hb_float_radiusIn percent of the image size. Corners are drawn as a soft squircle in browsers that support corner shapes.
Build a hero with floating images
A dark, edge-to-edge hero row with images floating around a centered heading and button.
- Edit the row. On its General tab, set Row stretch to Stretch row. On its Design options tab, give it a dark background color and a Border radius for rounded corners.
- On the Layout tab, set Side Inset so the row floats a little in from the screen edges instead of touching them.
- On the Floating Images tab, add your Images and adjust the sizes, Clear Area, and Mouse Movement to taste.
- On the row's column, open its Layout tab and set Content Direction to Stack vertically, Distribute Content to Center, Align Content to Center, and give it a Minimum Height so the column fills the hero.
- Add a big Custom Heading and, below it, an Animated Button with Style set to Glass.