First steps
What to do right after activating Highend, from the setup checklist to your logo and homepage.
Once Highend is active, the About page becomes your home base. It tracks a short setup checklist and gives you shortcuts to the screens you'll use most.
Where to find it: Go to HighendAbout.
Work through the setup checklist
The Get set up card on the About page tracks four required steps and one optional one. It counts down as you complete each one.
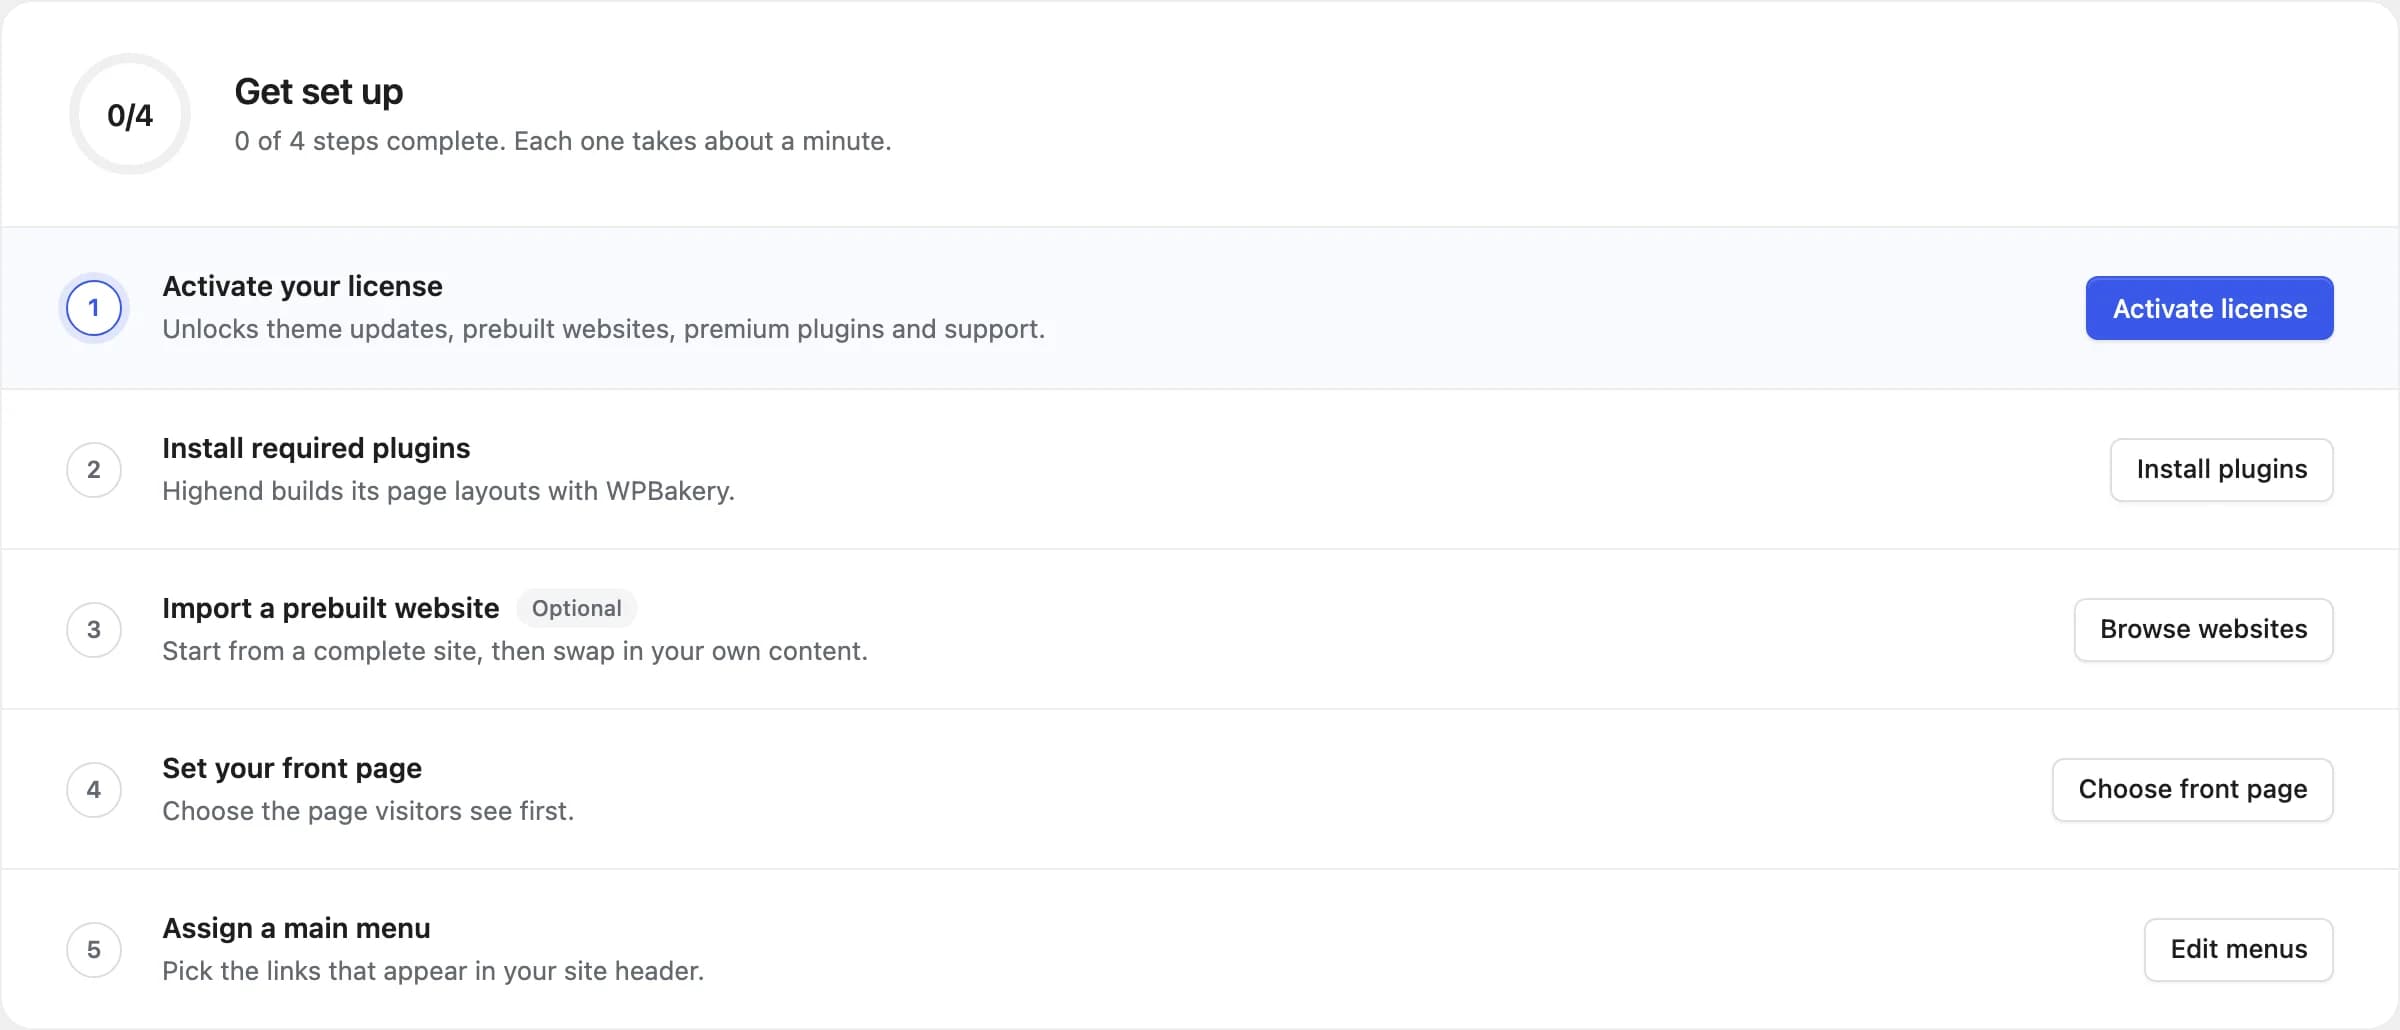 Four required steps, plus an optional demo import.
Activate your license
Unlocks theme updates, the prebuilt websites, premium plugins, and support. See Theme license.
Install required plugins
Highend needs WPBakery Page Builder to render its layouts. See Install plugins.
Import a prebuilt website (optional)
Start from a complete site instead of a blank one, then swap in your own content. See Import a demo. Skip this step if you'd rather build from scratch.
Set your front page
Choose the page visitors land on first, under SettingsReading. See Set a homepage.
Assign a main menu
Pick the links that appear in your header, under AppearanceMenus. See Menus.
Once every required step is done, the checklist collapses into a "You're all set" message.
Then set up the essentials
A few more things are worth doing early, even though they're not on the checklist:
Upload your logo
Your logo appears in the header, footer, and mobile menu. See Logo.
Choose a layout
Set boxed or full-width, sidebar position, and other structural defaults for the whole site. See Layout.
Jump back in
Further down the About page, the Jump back in shortcuts take you straight to the screens you'll return to most:
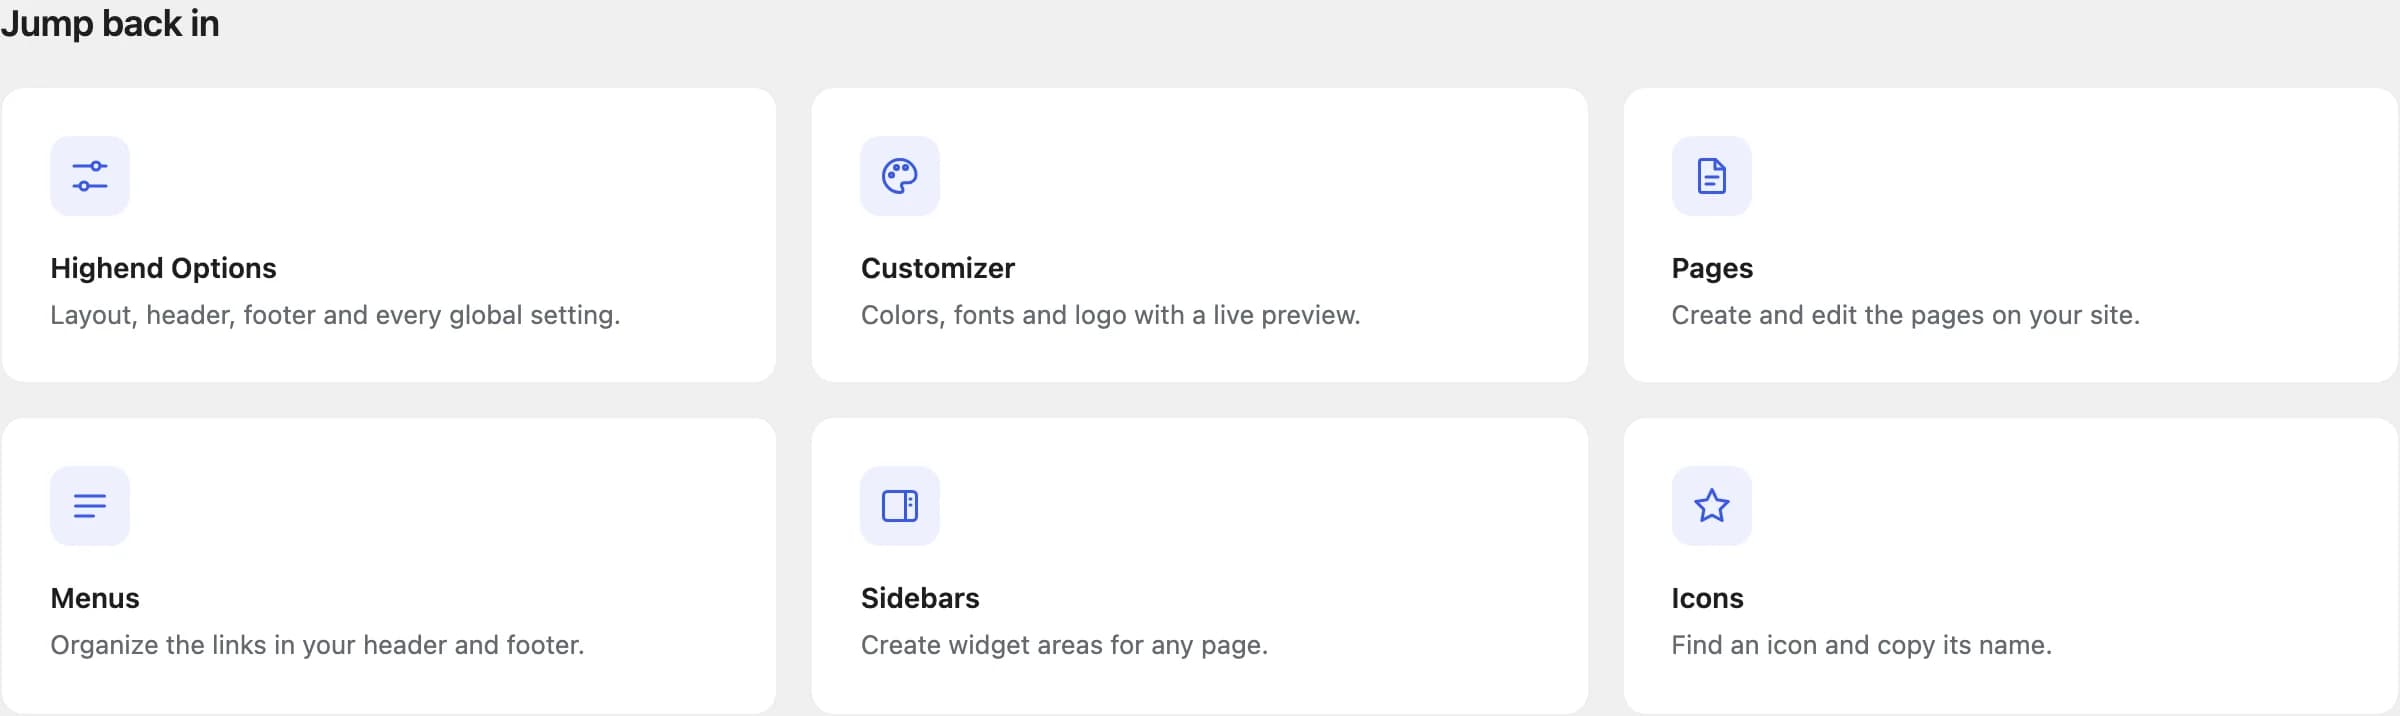
- Highend Options: layout, header, footer, and every global setting.
- Customizer: colors, fonts, and your logo, with a live preview.
- Pages: create and edit the pages on your site.
- Menus: organize the links in your header and footer.
- Sidebars: create widget areas for any page.
- Icons: find an icon and copy its name for use in elements.