Installation
Upload Highend to WordPress, activate it, and see what happens automatically.
You install Highend like any other WordPress theme, from the HighendWP.zip file in your download. Choose the WordPress admin upload method unless your zip is too large for your host's upload limit, in which case use FTP.
Open Add Themes
Go to AppearanceThemesAdd New Theme and click Upload Theme.
Upload the zip
Click Choose File, select HighendWP.zip, then click Install Now.
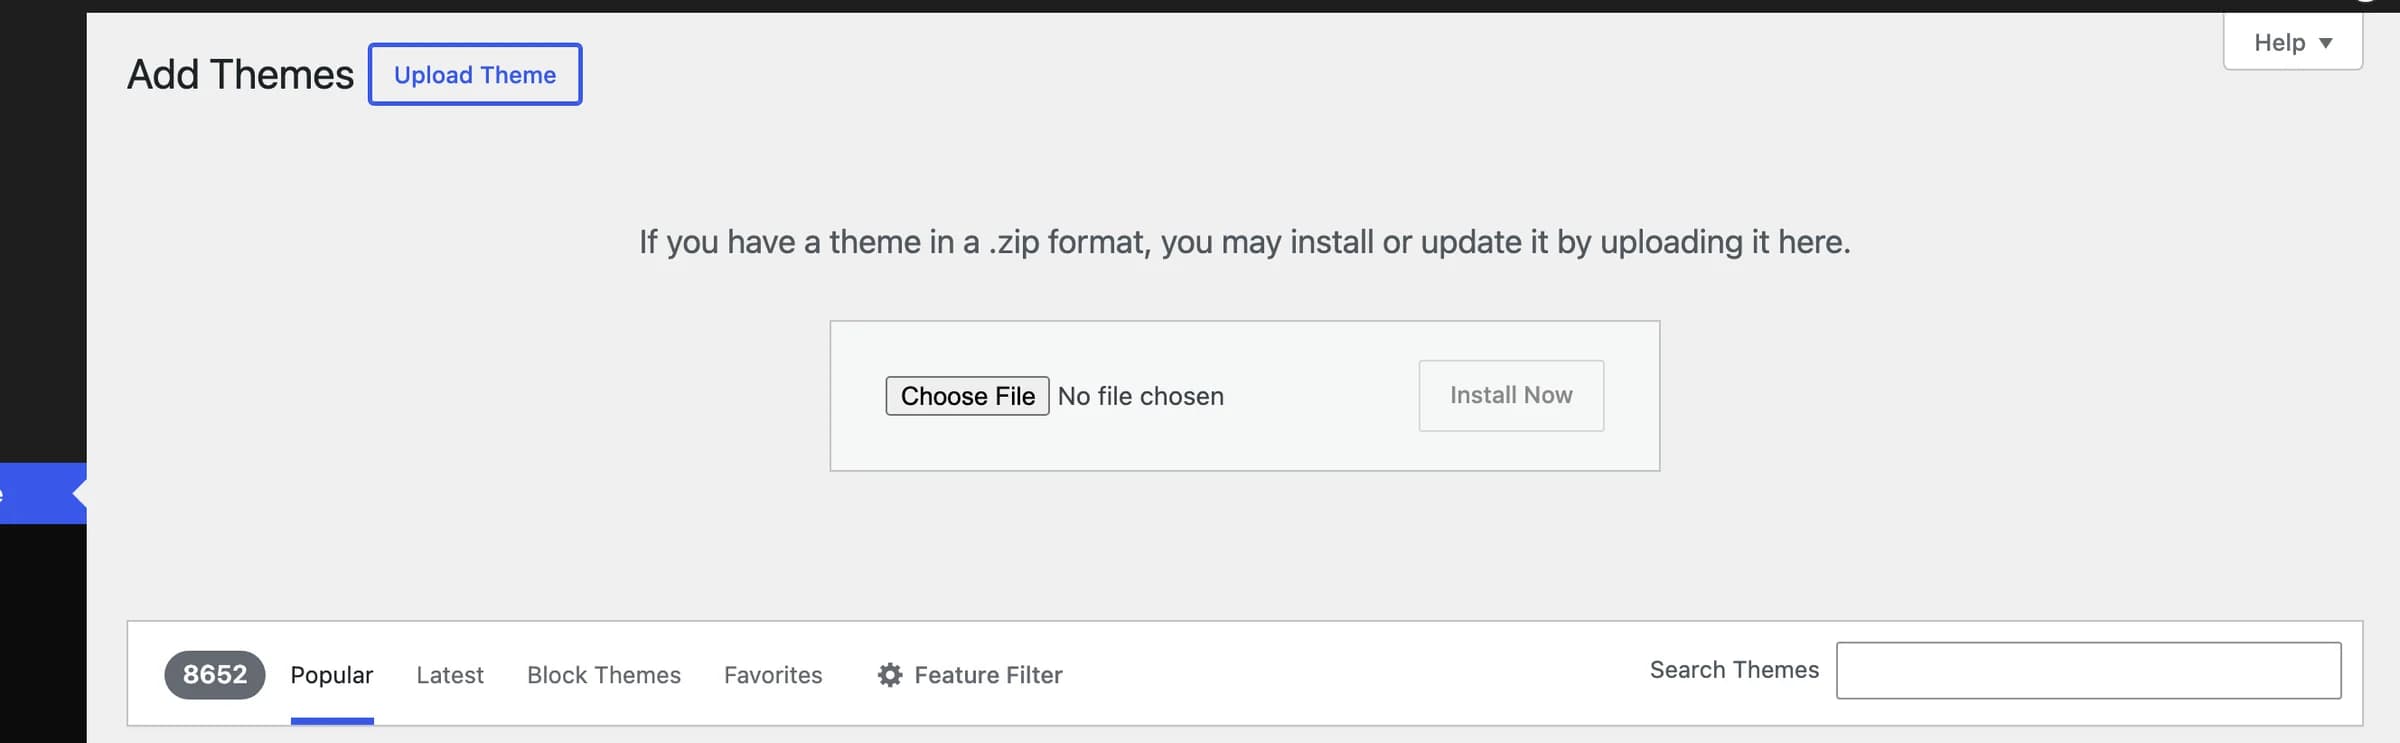 Upload HighendWP.zip here; don't unzip it first.
Activate it
Once the install finishes, click Activate.
What happens when you activate

Activating Highend takes you straight to HighendAbout instead of leaving you on the Themes screen. That's WordPress's normal "theme activated" redirect, pointed at Highend's own setup checklist. It doesn't create any pages or menus on its own. Two more things happen quietly in the background: Highend regenerates its dynamic stylesheet (the CSS built from your Theme Options and per-page settings), and it records its own version number, which is what lets it run any one-time update routine the next time a page on your site loads after installing a new version.
None of your content, plugins, or other theme's settings are touched by activating Highend. From there, work through the setup checklist. See First steps.
Using a child theme
If you're going to modify Highend's PHP, create a child theme rather than editing the theme files directly. An update would overwrite any changes you make to Highend itself. See Child themes.